
How to Paint Textured Walls Without Uneven Coverage
If you’re wondering how to paint textured walls, the process starts with checking the condition of the existing texture, cleaning and repairing the surface and choosing a roller that can reach into the textured areas. From there, you can prime where necessary, cut in around the edges, roll the walls in manageable sections and apply another coat if the first coat does not provide even coverage.
Textured walls can usually be painted without removing the existing texture. The challenge is that raised and recessed areas do not receive paint in exactly the same way as a smooth drywall surface. The texture can also hold more paint, make roller marks more noticeable and leave low spots looking thin if the roller does not reach them properly.
TL;DR
- Textured walls can generally be painted as long as the texture is firmly attached and the surface is reasonably clean and sound.
- Inspect and repair loose texture before applying paint. Painting over damaged areas usually makes the problem more noticeable.
- Roller nap matters because the roller needs enough fiber to reach into the texture without flooding the wall with paint.
- Use moderate pressure and work in manageable sections so the paint reaches the surface without excessive buildup.
- A second coat may be necessary when the first coat leaves thin areas, especially with deep texture or a significant color change.
- Give extra attention to corners, repairs, stains and areas where the roller cannot reach the full texture.
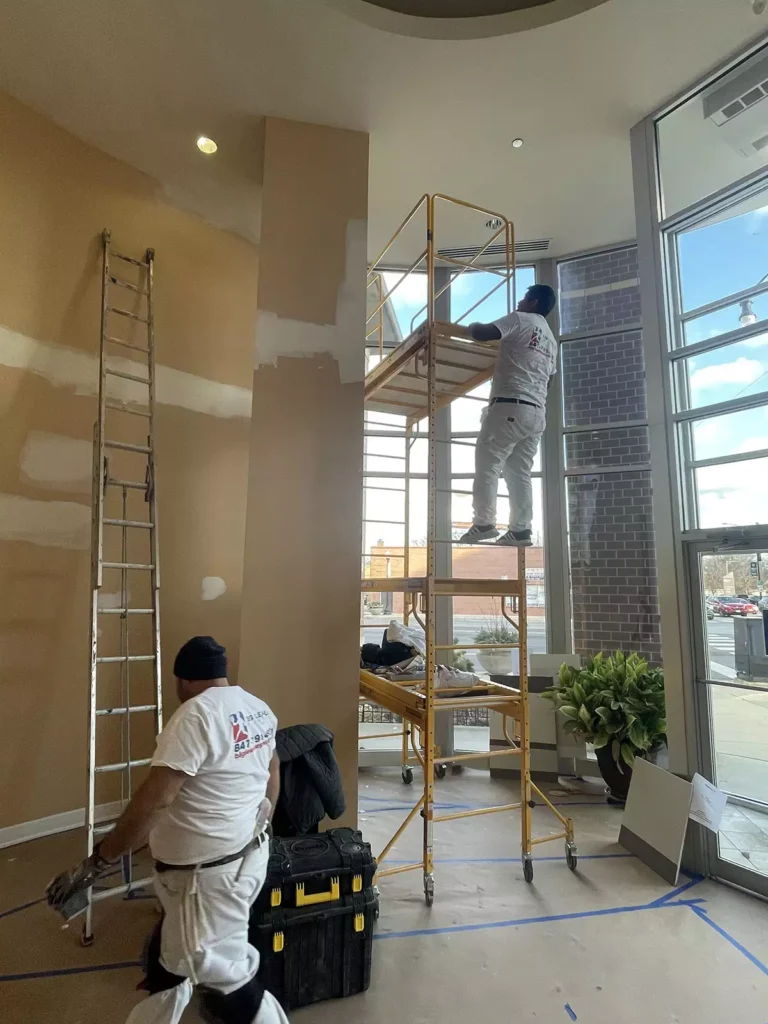
In most cases, yes. Common wall textures can be painted without removing the existing texture first. The important question is not simply whether the wall has texture. It is whether the texture is stable and suitable for another coat of paint.
A firmly attached texture with an existing painted surface is generally easier to repaint. Problems become more complicated when the texture is loose, crumbling, heavily damaged or poorly bonded to the drywall.
Different textures also behave differently. A lightly textured wall may be only slightly more difficult to paint than smooth drywall. A heavily textured surface has much deeper valleys and raised areas, which means the roller has to work across a less uniform surface. Before painting, look for:
- Loose or flaking texture.
- Cracks.
- Holes and dents.
- Areas where previous repairs are visible.
- Water stains or discoloration.
- Grease or heavy dirt.
- Peeling paint.
- Excessive paint buildup from previous coats.
If the wall has significant water damage, recurring stains or widespread loose material, painting should not be treated as the first step. The underlying problem needs to be addressed before the new coating is applied.
What You Need Before Painting Textured Walls
You do not need an unusual collection of tools for most textured walls. The important choices are the paint, primer when necessary, roller and equipment used to protect the room.
1. Paint and Primer
Choose an interior wall paint that is suitable for the room and existing surface. The finish is largely a matter of appearance and cleaning requirements, but the texture itself can affect how noticeable the finished sheen appears.
Higher sheen finishes can emphasize surface irregularities because they reflect more light. A flatter finish tends to visually soften minor surface variations.
Primer is not automatically required for every repaint. It becomes more useful when you are painting over a repaired area, a porous surface, a major color change, exposed drywall compound or a surface with staining that requires a suitable stain blocking primer.
The type of primer matters. A general purpose primer may not solve a persistent stain, while a stain blocking product may be needed for certain discolorations. Always follow the paint or primer manufacturer’s instructions for compatibility, preparation, drying and recoating.
2. Rollers and Brushes
The roller is one of the most important tools when painting textured walls. Roller nap refers to the length of the roller’s fibers. A longer nap generally holds more paint and can reach farther into an irregular surface. A shorter nap works better on smoother surfaces but may leave low areas of heavier texture without enough paint.
There is no single nap that works for every textured wall. A lightly textured surface may require less nap than a deep, heavily textured surface. The best choice depends on how much variation exists between the raised and recessed areas.
A brush is still necessary for cutting in around trim, corners, ceilings, and other areas where the roller cannot work effectively.
3. Other Supplies
Useful supplies can include:
- Paint tray or roller grid.
- Extension pole.
- Angled brush.
- Drop cloths.
- Painter’s tape.
- Sanding sponge or sanding block for repairs.
- Joint compound or suitable wall repair material.
- Caulk for appropriate gaps around trim.
- Cleaning supplies.
- Primer when needed.
- A sturdy ladder for areas that cannot be reached safely from the floor.
An extension pole can be particularly useful on textured walls because it helps maintain a consistent rolling motion without repeatedly stretching or climbing.
Planning a Painting Project?
How to Prepare Textured Walls for Painting
Preparation has an outsized effect on textured walls. A smooth wall makes defects easier to see before painting, while texture can hide small problems until a fresh coat highlights them.
1. Inspect the Existing Texture
Run your eyes over the entire wall before opening the paint. Look for areas that are loose, cracked, chipped or missing. Pay particular attention to corners, areas around previous repairs and spots where furniture or fixtures may have damaged the texture.
Do not simply roll over loose material. Paint may temporarily cover the defect, but the underlying texture can continue to separate from the wall.
If the texture is damaged, remove or stabilize the loose material as needed and make the repair before painting. The repair may need to be textured to match the surrounding wall.
This is one of the areas where a seemingly small repair can become visible after painting. New material often has a different surface profile from the surrounding texture, so simply filling a hole is not always enough. The repaired area may need to be blended with the existing texture.
2. Clean the Walls
Dust and dirt interfere with paint adhesion and can also affect how evenly the new coating spreads. Remove loose dust and cobwebs first. For walls that have accumulated more dirt, clean them using a method compatible with the existing finish and allow the surface to dry before painting.
Kitchen walls may have grease or cooking residue. High touch areas can also accumulate oils and dirt over time. Do not saturate textured drywall unnecessarily. Deep texture can hold moisture longer than a smooth surface, so cleaning should be controlled rather than soaking the wall.
3. Repair Damaged Areas
Fill holes, dents, cracks and other defects using a repair material suited to the wall. Once the repair has dried, sand or smooth it as necessary. The goal is not always to make the repair completely flat. On a textured wall, an overly smooth patch can stand out because it does not match the surrounding surface.
For larger damaged areas, matching the existing texture can require more work than the actual filling process. Stains deserve separate consideration. Painting directly over a water stain, smoke discoloration or another persistent mark can allow the problem to show through the new coating. The cause of the stain should be resolved first, followed by the appropriate primer if needed.
4. Protect Floors, Trim and Furniture
Move furniture away from the walls and cover anything that cannot be removed. Protect floors with drop cloths and mask trim where necessary. This matters even more with textured walls because the roller can carry a substantial amount of paint. The raised surface can cause small amounts of paint to flick or transfer when the roller is moved too quickly or overloaded.
Remove light switches, outlet covers and other removable items when practical rather than trying to paint neatly around every edge.
Planning a Painting Project?
How to Paint Textured Walls Step by Step
Once the wall is clean, sound, dry and ready for paint, the actual application can begin.
1. Cut In Around the Edges
Start by painting areas the roller cannot easily reach. Use an angled brush around corners, along trim, near the ceiling, and around other fixed surfaces. Do not create an excessively wide band of brush applied paint. The goal is to cover the edge while leaving enough wet paint for the roller to blend into.
Textured walls can make cutting in more difficult because the brush has to follow an uneven surface. Work the paint into the texture without flooding the corners.
If you are painting a large wall, avoid cutting in the entire room hours before rolling. Keeping the edge workable makes it easier to blend the brushed area into the rolled area.
2. Load the Roller Properly
Load the roller evenly rather than dipping one side heavily into the paint. A properly loaded roller should carry enough paint to cover a workable section without dripping.
This balance is particularly important on textured surfaces. A roller that is too dry may skip over the low areas. An overloaded roller can deposit excessive paint on the raised areas and leave runs or heavy buildup. After loading the roller, distribute the paint evenly across the roller using the tray or grid.
3. Roll the Wall
Begin rolling in a manageable area. Use controlled strokes and maintain fairly consistent pressure. Pressing harder does not necessarily improve coverage. Excessive pressure can flatten the roller fibers and push paint away from areas where you actually need it.
Allow the roller to do the work. On a textured wall, the objective is to get paint into the contours without repeatedly working the same area after the paint has started to become tacky.
You can use overlapping passes to distribute the coating evenly. Avoid repeatedly rolling a section simply because the texture makes the surface look inconsistent while it is wet. Some variation in wet appearance can disappear as the coating dries.
For deeper texture, slow down enough to make sure the roller is contacting the recessed areas. If the roller skips across the peaks, those low spots may remain visibly lighter.
4. Work in Manageable Sections
Break large walls into sections that you can coat while maintaining a workable edge. Do not spread the paint too thin over a huge area and then try to correct it after it begins drying. As you move from one section to the next, overlap the previous area while the paint is still workable. This helps reduce visible transition lines.
Keep an eye on the amount of paint accumulating in corners, along trim and around heavily textured areas. These locations can receive more paint than the rest of the wall because the brush and roller both deposit material there. If you notice a drip, correct it while the paint is still workable rather than allowing it to dry and sanding the defect later.
5. Apply a Second Coat When Needed
Do not assume that one coat is enough simply because the entire wall has changed color. Look at the dried surface under normal room lighting. A second coat may be necessary when the first coat has thin spots, the original color remains visible, the texture has produced inconsistent coverage or the new color is substantially different from the old one.
Follow the coating manufacturer’s recoat instructions rather than applying the next coat simply because the surface feels dry. The second coat should be applied with the same controlled technique. Do not compensate for poor first coat coverage by flooding the wall with paint on the second pass.
Common Problems When Painting Textured Walls
Textured walls have a few predictable trouble spots. Most can be traced back to surface condition, roller selection, paint loading or application technique.
Uneven Coverage
Likely causes: An unsuitable roller, insufficient paint on the roller, excessive pressure or texture that is deeper than expected.
If raised portions look covered while recessed areas remain lighter, the roller may not be reaching the full texture. Use a roller with enough nap for the depth of the surface and work with controlled pressure. If the first coat has already dried unevenly, a properly applied second coat may correct the difference.
Missed Areas in the Texture
Likely causes: Deep texture, a roller with insufficient nap or moving the roller too quickly.
Inspect the wall from different angles after the first coat dries. Low spots can be difficult to identify while the paint is wet. If missed areas are widespread, changing your rolling technique may be more effective than trying to touch every low spot individually.
Roller Marks
Likely causes: Uneven paint loading, excessive pressure, repeatedly working partially dried paint or inconsistent rolling.
Roller marks become particularly noticeable when the wall has a directional texture or when the paint is distributed unevenly. Maintain a consistent application pattern and avoid overworking sections that have started to dry.
Paint Buildup
Likely causes: An overloaded roller, excessive brushing, slow moving application or repeated passes over the same textured area.
Watch corners and raised texture closely. Paint can accumulate where the roller naturally deposits more material. If buildup occurs while the coating is still wet, distribute the excess carefully. Once it dries, correction may require sanding and repainting, depending on the severity.
Damaged Texture
Likely causes: Aggressive cleaning, scraping, sanding, excessive pressure or painting over texture that was already loose.
Texture is not necessarily as strong as the drywall beneath it. Avoid treating the wall like a hard, smooth surface. If the texture begins to pull away or crumble, stop and assess the area instead of continuing to roll over it. If a large section is loose, repainting alone will not solve the problem.
Planning a Painting Project?
Common Mistakes to Avoid
1. Skipping Surface Cleaning
Paint applied over dust, grease or grime may not bond as expected. Cleaning is especially important in kitchens, hallways and other areas that collect residue.
2. Painting Over Loose Texture
Fresh paint cannot reliably secure texture that is already separating from the wall. Loose material needs to be dealt with before painting.
3. Choosing a Roller Without Considering Texture Depth
A roller that works well on smooth drywall may not reach the recessed areas of a heavily textured wall. Think about the surface first, then choose the roller.
4. Applying Excessive Pressure
More pressure is not a substitute for the correct roller. It can compress the nap and reduce its ability to reach irregular areas.
5. Loading the Roller Incorrectly
Too little paint creates thin coverage. Too much can cause drips, splatter, and buildup. Aim for an evenly loaded roller rather than the largest possible amount of paint.
6. Applying Too Much Paint at Once
Flooding textured walls can make the surface difficult to control. Paint may collect around raised sections and run into recessed areas. Several controlled passes are easier to manage than one excessively heavy application.
7. Recoating Too Soon
The surface may feel dry before the coating has reached the manufacturer’s recommended point for another coat. Recoat according to the product instructions. Rushing this step can interfere with the finish and application of the next coat.
8. Ignoring Repairs or Stains
New paint can make a previously subtle repair or stain more noticeable. Deal with these conditions before applying the finish coat.
When Should You Hire a Professional Painter?
Painting a small textured wall is within the ability of many homeowners. The decision becomes different when the surface is large, damaged, unusually deep or difficult to reach. Consider professional help when:
- A large portion of the house needs painting.
- The wall texture is unusually heavy or irregular.
- Large areas need drywall or texture repairs.
- Walls have extensive staining or previous coating problems.
- Ceilings or stairwells are difficult to reach safely.
- Previous paint jobs have heavy buildup or poor coverage.
- You do not have the right roller, ladder, extension equipment or other supplies.
- You need the work completed within a limited schedule.
The texture itself is not necessarily the hardest part. The combination of texture, repairs, room size, access, furniture and desired finish can make the project considerably more time-consuming.
Large textured ceilings can be particularly demanding because gravity works against you and maintaining even coverage overhead is more difficult than working on a wall.
Big League Painting can be an option when the project involves extensive textured surfaces, difficult access or preparation that goes beyond a straightforward repaint.
Conclusion
Learning how to paint textured walls starts with recognizing that texture changes the painting process. The wall is not uniformly flat, so paint needs to reach both the raised portions and the recessed areas without creating excessive buildup.
Inspect the existing surface first. Clean it, repair damaged texture, address stains and prime when the condition of the wall calls for it. Choose a roller based on the depth of the texture rather than automatically using the same roller you would use on smooth drywall.
During application, keep the roller evenly loaded, use moderate pressure, work in manageable sections and avoid repeatedly working paint that has begun to dry. After the first coat has dried according to the manufacturer’s instructions, inspect the wall before deciding whether another coat is needed.
There is no universal roller, number of coats or preparation process for every textured wall. The texture’s depth, existing finish, wall condition, color change and type of paint all affect the job.
For walls, careful preparation and controlled application can produce a solid result. When the texture is damaged, unusually heavy or combined with extensive repairs and difficult access, the project may require considerably more time and skill than a typical repaint.